
Oh, yes I did.
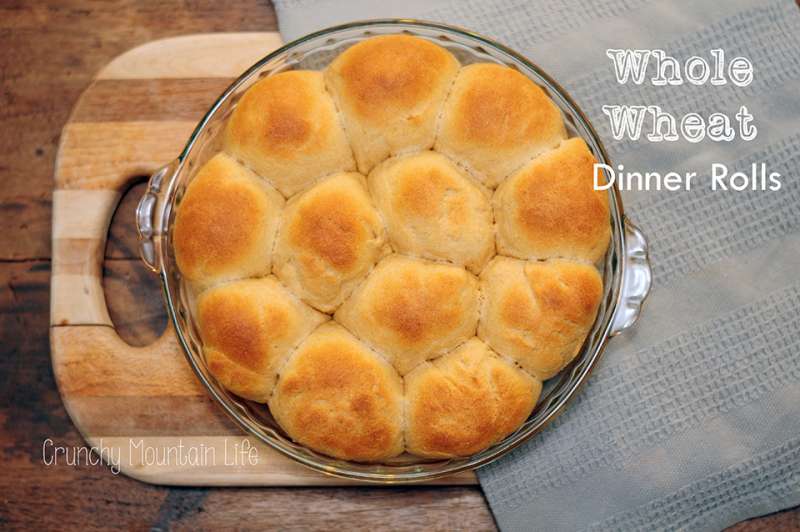
Dinner rolls. Whole Wheat. Healthy. Boom.
After a ton of searching, I finally found the recipe! It’s healthy, and E.A.S.Y. Did you see that? I spelled it out for you, so you didn’t miss it. EEEEEEAAAAASSSSSSYYYYY. In case you haven’t noticed, I am a fan of easy recipes. If it requires too many steps, or insane ingredients, I usually don’t have the time (or energy) to try them out. And I know your time is precious, too.
The only “time consuming” part of this recipe is the rise time, which technically, you don’t even need to be at home for. So I can start this recipe, and let it rise while I run a few errands if need be.

I’m also one to always give credit where credit is due. I may have shed a tear or two for not being the one to concoct this recipe on my own…but I’ll get over it. Maybe.
I found this recipe on (are you ready for a shocking statement?)…Pinterest. Y’all know I love Pinterest. And this is why. Chocolate with Grace did not disappoint with this one, although I did slightly change up the execution of these bad boys. The result?
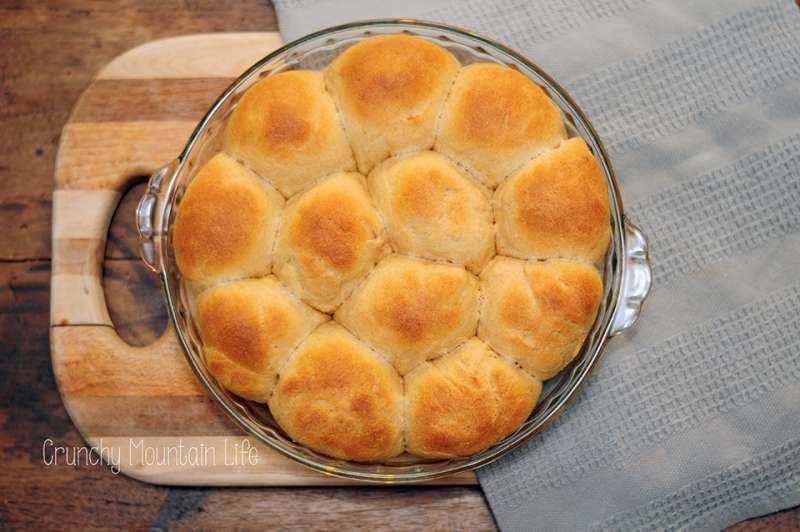
Fluffy, delicious, and healthy dinner rolls!
We will be using these tonight as slider buns for our healthy homemade sloppy joes, courtesy of 100 Days of Real Food’s newest cook book. I’m also going to attempt to make tater tots. I love a good tot, and if they turn out as I hope they will, be on the lookout for a post on those SOON. I’ll also be keeping this dinner roll recipe handy for my famous hamburgers!
- 2 packages active dry yeast (4 1/2 tsp)
- 1 3/4 cup warm water
- 1/2 cup honey
- 1/2 cup melted better
- 4 3/4 cups whole wheat flour (we like King Arthur's White Whole Wheat)
- 2 tsp salt
- In the bowl of a stand mixer add warm water and honey - whisk to combine.
- Add in yeast and allow to sit for 5 minutes. This is the point where you will know if your yeast is good. If it begins to bubble/foam, then you're good to go!
- Whisk in melted butter and salt.
- Add in 4 cups of the flour to the stand mixer (fitted with dough hook), and knead until well combined. Add in additional flour if needed by 1/4 cup. I used the full 4 3/4 cups flour and mine turned out perfectly.
- Knead in mixer for an additional 5-7 minutes until the dough is smooth and pliable.
- Lightly grease a bowl with extra virgin olive oil, place dough ball in bowl. Cover and allow to rise until doubled in size (about an hour), in a warm place.
- Remove dough ball, and punch down a few times and knead by hand for about a minute. Allow dough to rest for about 10 minutes.
- Divide dough into 24 equal pieces, shape each piece into a ball, then fold the ends under.
- Place them into 2 lightly greased pie pans (you can also use a 9x13 inch pan, but I found they bake better in smaller batches). You should be able to easily fit 12 in each pie pan.
- Cover again, and allow to rise, until doubled again.
- Towards the end of the rise time, preheat your oven to 375 F. Bake at 375 for 20-25 minutes, or until baked through and the tops are lightly browned.
- Once done, you can brush with a little melted butter (while they are hot) if desired.
- Enjoy!!
- You can serve these warm as a nice addition to your meal, or you can use them as sandwich / slider buns. Yum!

Will try this soon.
I’d love to hear (or see!) your results!!
I’m so glad you loved them!!
I did!! And they were a hit with my Mountain Man…they have made it on our permanent recipe list! 😉