These have been a long time coming.
For years, the search for decent homemade marshmallows without all the junk (I’m looking at you, Corn Syrup), has eluded me. Maybe I wasn’t looking in the right place, or maybe the people I knew who did make their own marshmallows swore they would never share their generations old family recipe…but either way, I am elated to say that the search is finally over!
The day; October 23rd, 2022. The time; 1:30 pm. The place; My kitchen.
We were in the middle of the first snow of the season…a whopping 12″ landed at our house!
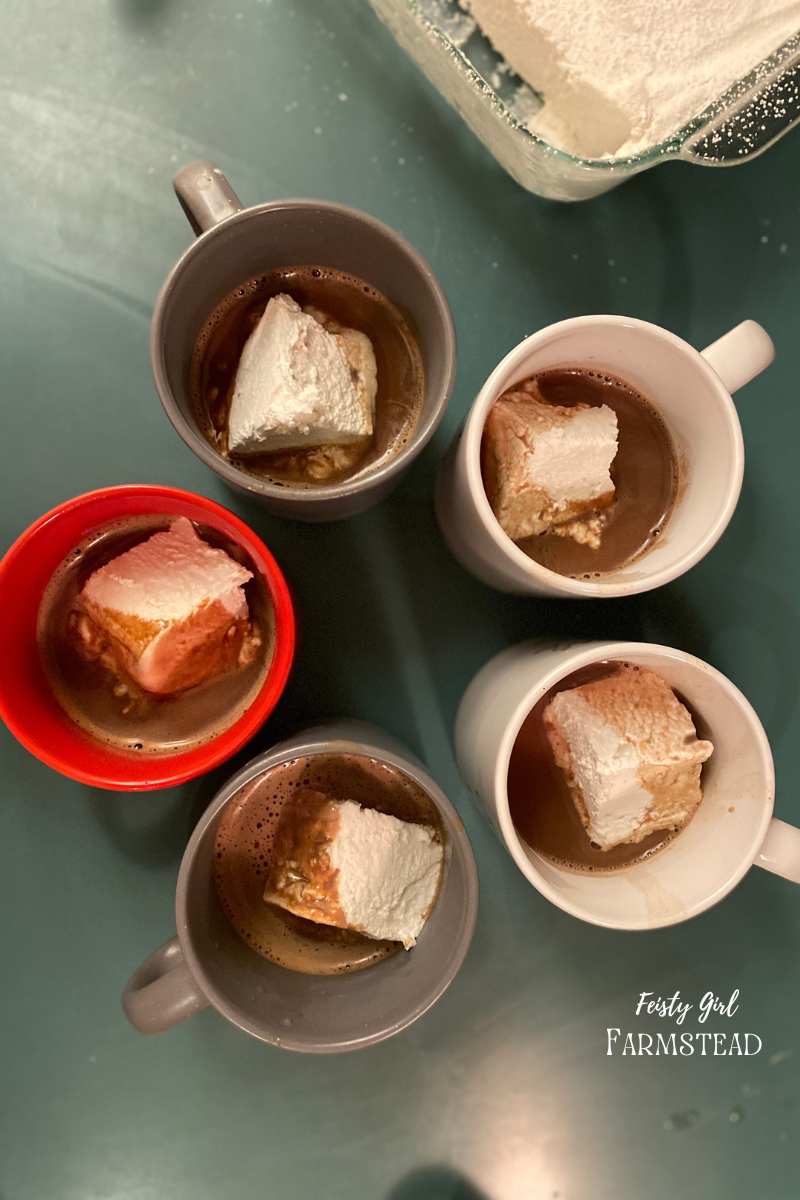
And no sooner had the snow started falling, that my kids were begging for hot chocolate with marshmallows. Hot chocolate on a whim? No problem! We use only 2 ingredients (Raw cows milk and chocolate chips), and I always have those two items on hand. It was the marshmallows that were the tricky part. I rarely keep those in my pantry for a few reasons; 1. the typical store bought ones are full of junk and 2. the “healthy” version I can buy are ridiculously expensive.
Y’all… as much as I love my kids, I was not interested in hopping in my car to drive to the store in 12″ of snow for marshmallows.
So off to the kitchen I went!
I grabbed my candy thermometer (this is important, as it will help you know just the right time to remove the mixture from the heat), and my ingredients and just went for it. I found a few variations online but sort of ended up combining some to make my own. With my fingers crossed, I hoped for the best. The result? 8 thumbs up (10 if I count myself)…they were a hit!

Aside from the full control over ingredients, the best part of making your own marshmallows, is that you get to be as creative with the flavors as you like! To play it safe, I opted for straight vanilla for my first batch. But you could do so many variations! Peppermint, bourbon (adults only), Orange, Chocolate…the marshmallow world is your oyster!
If you try this or if you get brave and attempt a new flavor, drop a comment and let me know how it turns out!

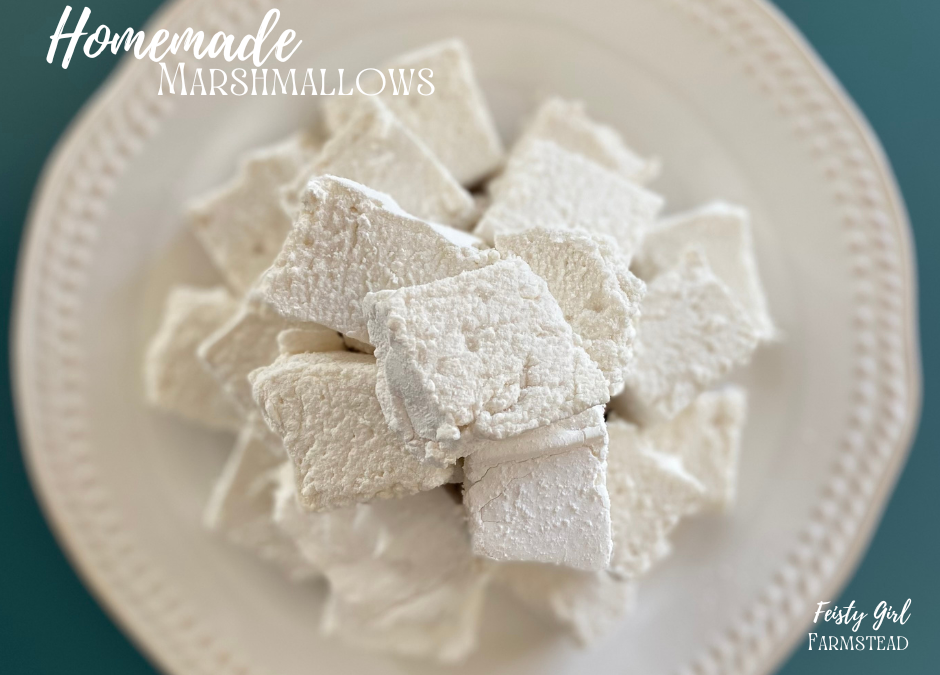
Homemade Marshmallows

So easy to make, and using only ingredients you probably already haven your pantry!
- candy thermometer
- 2 packets unflavored gelatin powder
- 1 cup Cold water (divided)
- 2 cups Organic Cane Sugar
- 2-3 tsp Vanilla Extract (adjust to taste)
- 1/4 tsp salt
-
In the bowl of your stand mixer, add the. packets of gelatin powder.
-
Pour 1/2 cup of cold water into the bowl of your mixer, fitted with the whisk attachment. Stir on low for about 5 seconds and leave it while you prepare the sugar mixture.
-
In a heavy bottom sauce pan, combine the remaining 1/2 cup water with 2 cups sugar and stir.
-
Slowly bring it to a boil.
-
continue boiling the mixture until it comes to the "soft-ball" stage on the candy thermometer (between 235º – 240º F)
-
Once the temperature hits this range, remove from heat and allow to cool for about a minute.
-
Then add your salt and vanilla extract (please note that adding vanilla to hot syrup can cause the mixture to bubble violently).
-
Allow mixture to cool another 1-2 minutes, but no more than 3 minutes. Turn the mixer on low and slowly pour in the hot syrup, making sure it hits the bowl first and then runs into the gelatin.
-
Once all syrup has been added, slowly turn up the mixer to med-high or high (My happy zone was right around 7 on my kitchen aid mixer).
-
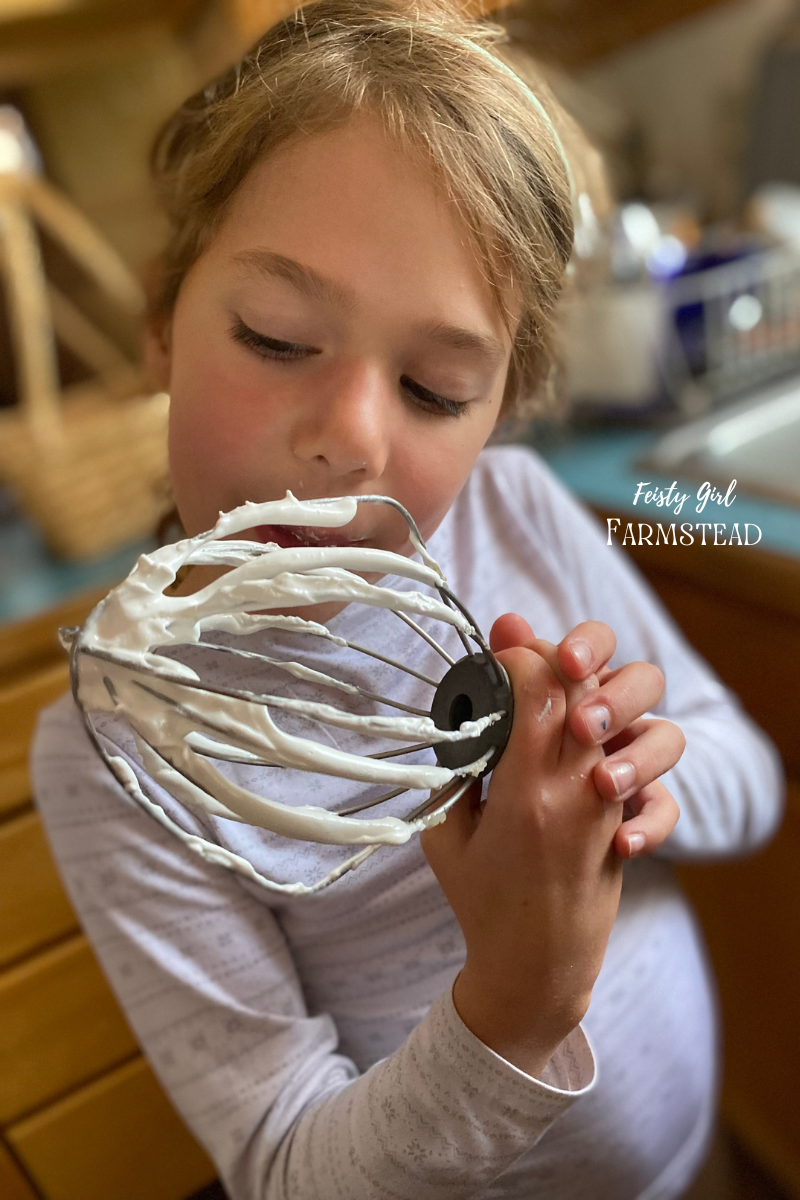
Allow it to run until the mixture is soft, white and fluffy (about 10 minutes) and it can hold a bit of a peak when you dip a spoon into it.
-
While it's mixing, grab am 8×8 pan and very lightly coat with butter, the bottom and sides. Sprinkle a spoonful of powdered sugar into the pan and shake around until it is well coated.
-
Once your marshmallow fluff is ready, you can scrape it into your prepared pan and smooth out the top so it's even in the pan.
-
After 3-4 hours, sift some powdered sugar on top of the marshmallows. Using a knife or spatula, cut around the edge of the pan. Then slice into several squares and, using a spatula, gently scoop the marshmallows out of the pan.
-
Place cut marshmallows into a large bowl and dust with more powdered sugar (this helps coat the sticky sides so they don't stick to each other).
-
Store in airtight container on countertop for 3-5 days. Enjoy!


