
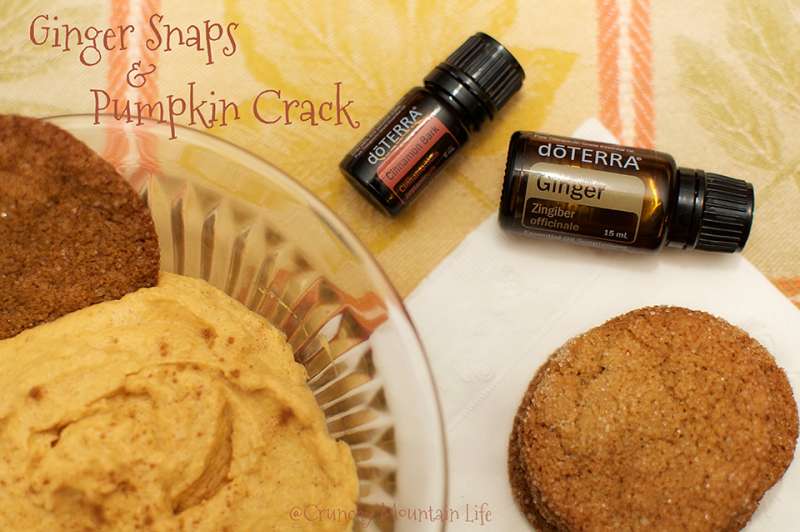
With a name like that, it has to be good, right? Wrong. It has to be great. And I pinky swear to you right now, that this is so good, that your family will love you even more than they do now…so this is something you must make. Stat. This is sure to be a crowd pleaser for any of your Fall-y get-togethers! I wish I could take credit for this idea. I actually tasted a similar version at a friends house very recently, and I only tasted it then because I was hard up for something sweet. In fact, up until this year I refused to eat anything “pumpkin” flavored. I know, I know, sacrilege, right? I’m sure my whole family has written me off as slightly insane, but I’m hoping this will restore some sort of semblance of faith that they may have in me.
Anyway, back to how I found this combo. A few weeks ago, my Mountain Man had taken a little vacation time with a friend out to Montana, to do some fishing. Rough life, I know. So while he was gone, I had a very sweet friend invite myself and the three munchkins over for dinner. Of course we accepted! Free food?! I kid, I kid…But seriously, I love this friend dearly…we’ve known each other for going on 13 years, and were close before kids ever came into the picture. So we accepted and had some much needed time to catch up on our lives. After some yummy dinner, she broke out a box of ginger snaps and a bowl of this creamy pumpkin dip she made. I took one bite (hesitantly…remember, not a big pumpkin fan over here)…and I was hooked. I was like a freaking machine, the way I put away some ginger snaps and that a-mazing dip!
I just knew this dip was anything but healthy, so I asked her what was in it. As she began telling me the ingredients, I did what any normal person would do, and started thinking about healthier ingredients I could sub out for some of the original ones. Just me? Ok, moving on. It was at that moment I decided that I was on a mission to re-create this sweet treat, but in a way that fit into our family’s dietary needs. Lucky for you, you only have to come to ONE blog post to get both of these delicious recipes, instead of scouring the interwebs for days on end trying to find the perfect recipes. There are multiple parts to this, so let’s start with the Pumpkin Crack first, since you’ll want that to chill in the fridge while the cookies are baking.
*Note- this recipe calls for 2 processed items, of which I did not use: vanilla pudding mix (I made my own in less than 5 minutes), and Cool Whip (again, I whipped up my own…literally). You can choose to make your own, or used the ready to go stuff. Your call! I’ve added the easy homemade version of those two items below this recipe card.
- 15 oz. can of Pumpkin
- 5 oz box of instant pudding mix (just the powder, don't make the pudding - OR 1/4 cup of the homemade mix)
- 16 oz. container of Cool Whip (or homemade version)
- 1/2 Tbls Pumpkin Spice
- 1 drop of dōTERRA Cinnamon essential oil (if you don't have this yet, you can sub for 1/2 Tbls ground cinnamon)
- Combine all the ingredients in a large bowl, and mix together with a spoon or spatula, until well combined.
- Chill at least 1 hour before serving. Sprinkle with cinnamon and enjoy!
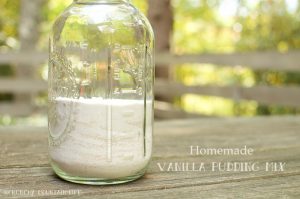
In a food processor combine the following items:
1 cup arrowroot powder
1 cup organic pure cane sugar
3/4 cup dry milk
1.5 tsp vanilla extract
1/4 tsp salt
1/4 tsp nutmeg
Store in an airtight container. This makes 5 large boxes of vanilla instant pudding. Use 1/2 cup of the mix in place of a large (5oz) box of instant pudding in recipes, or 1/4 cup of mix in place of a small box (3-4oz) of instant pudding mix.
To make the Homemade Cool Whip: The Rising Spoon has a great tutorial!
Ok, on to the COOKIES!! I like Ginger Snaps, but I like them…less “snappy” than others. But never fear. I am well aware that most prefer their Ginger Snaps to be crispy, so these cookies have just the right amount of crisp and chewy that everyone will enjoy! I found this recipe on White Lights on Wednesdays blog, and was thrilled that I didn’t have to make too many changes. But you know me…I just can’t leave well enough alone. If I’m going to do something and spend my time doing it, I want to do it right. So here goes…
- 1 1/2 cups Organic Pure Cane Sugar
- 3/4 cups unsalted butter (softened at room temperature)
- 1 egg
- 1/4 cup molasses
- 2 cups whole wheat flour
- 2 tsp baking soda
- 1 drop dōTERRA Cinnamon essential oil (if you don't have this yet, sub for 1 tsp ground cinnamon)
- 1 drop dōTERRA Ginger essential oil (if you don't have this yet, sub for 1 tsp ground ginger)
- Extra sugar for cookie coating (about 1/3 cup in a small bowl)
- Preheat your oven to 360 degrees, and line a baking sheet with parchment paper.
- In a large mixing bowl, beat together the sugar and butter until fluffy - approx. 1 minute.
- Add egg,molasses, and essential oils (if using ground spice options, add those in the next step) and mix well until combined.
- In a medium bowl, combine flour and baking soda (and ground cinnamon and ginger if not using EO's)
- Gradually add the flour mixture into the butter mixture, making sure it is well combined after each addition. You may notice the dough is slightly wetter than normal cookie dough - that's ok!
- Using a cookie scoop or a spoon, scoop out a small amount of batter, and roll it into a ball (about the size of a quarter.
- Roll the ball in the bowl of sugar to coat, and place on the cookie sheet. Make sure to leave about 2 inches between each cookie, as they WILL spread!
- Gently press the tops of the cookies down with a fork, to flatten it ever so slightly. Repeat with remaining dough.
- Bake cookies for 8-10 minutes. I found 8 minutes to be our sweet spot.
- Remove from oven and allow to cool on pan for about 1 minute before transferring to a cooling rack.
- Store in an airtight container for up to a week. But don't worry...they won't last that long!

Awesome Brenna! I love pumpkin crack but not the ingredients! It’s always GONE when I make it.
Thanks, Lauren! How did it turn out for you?? This was such a hit for us this past Fall!
Same here, Lauren! I hope you enjoyed this recipe!