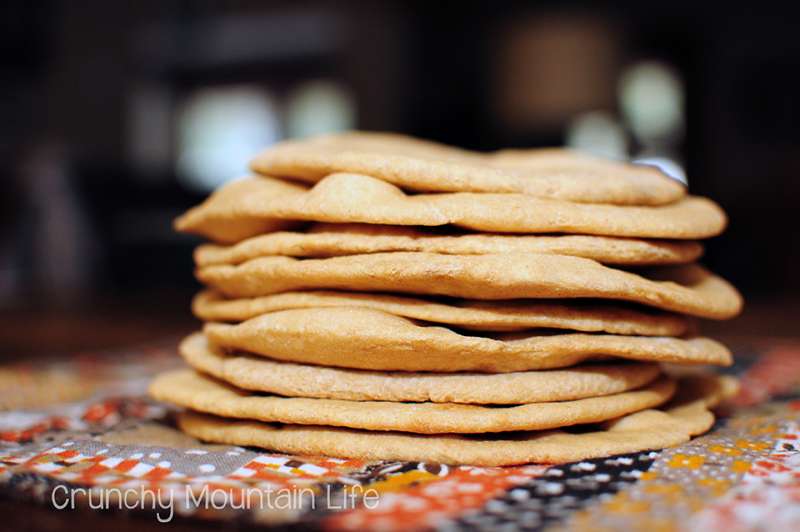
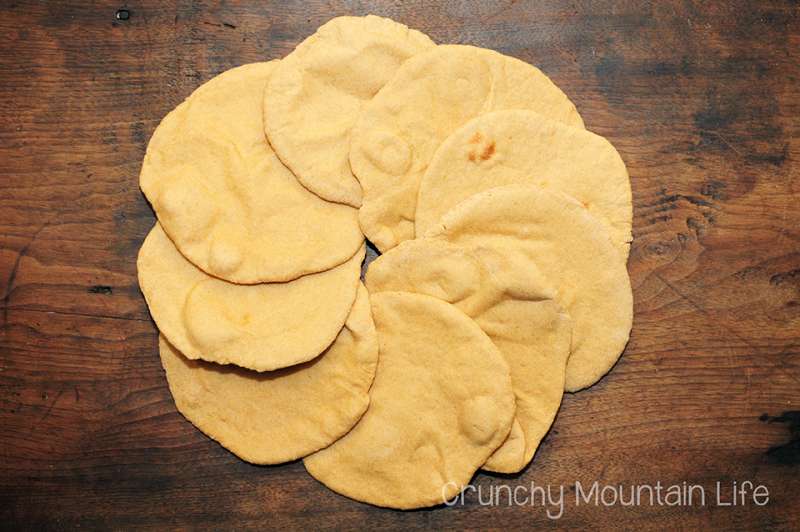
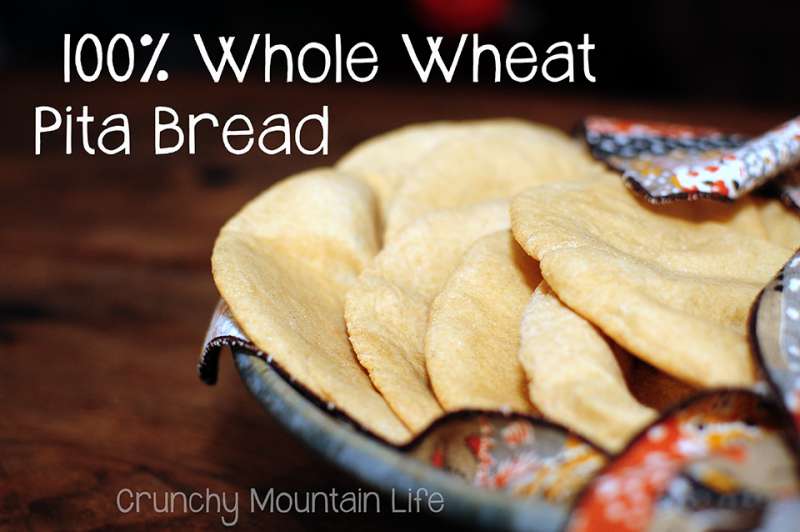
Pita Bread. Yummmm…
Don’t you just hate when you are trying your hardest to eat a healthy diet, and when you run across a recipe that clearly states “100% whole wheat….” in the title, and then you click on the link only to find LIES. Allllll lies.
The picture looks pretty, but then you see the ingredients list, and only half of the flour required for the recipe is actually whole wheat! Can someone please tell me how that is considered 100% whole wheat?! It isn’t. So you can’t. They may as well say, “this-recipe-is-actually-only-50%-whole-wheat-but-I’m-a-liar-so…”
I digress.
Sorry, that wasn’t very nice of me. But the truth hurts, as they say.
So I decided that I needed to remedy those lies. I needed to provide you all, my loyal readers, with an easy and true 100% whole wheat pita bread recipe. We love this bread for so many things. I like to eat mine as a healthy snack and dip in my homemade hummus. Sometimes I like to make these to freeze and keep handy on nights when I don’t even want to think about cooking. I can grab a few out of the freezer and let them thaw quickly, add some pizza sauce, cheese and toppings, and voila! Pita Pizzas ready in less than 15 minutes!

Now I will go ahead and tell you up front that the prep for this only takes about 5 minutes. Then you do need to let the dough rise for about an hour. After that, to bake time on these is less than 5 minutes. I’ve prepped these in the morning and let them rise almost all day before I remembered that I needed to roll them out and bake them. One time I even prepped them and then Mountain Man wanted to go grab food for everyone, so I was stuck with this dough that had already risen. So I put it in the fridge, and made them the next day. They still turned out beautifully!
Don’t let this bread scare you.
The beauty of pita bread is that it’s very forgiving. Even if your initial rise doesn’t result in a doubled ball of dough, it will still work, so don’t feel defeated and throw it out!
So set your fears aside, and get crackin’. I promise this is easier than you think!


- 1 cup lukewarm water
- 2 tsp dry yeast
- 1 tsp honey
- 2 3/4 cup whole wheat flour (we like King Arthur's White Whole Wheat)
- 1 tsp salt
- 1 Tbls Extra virgin olive oil
- In the bowl of your stand mixer, stir honey and yeast into water, and allow to rest for 5 minutes (this allows the yeast to activate).
- Add flour, salt, and olive oil, and mix with the dough hook until all ingredients are well combined.
- Dough ball should be pliable but not super sticky to the touch - add more flour if it's too sticky.
- On a clean work surface, sprinkle a little flour, and gently knead dough for a few minutes, until dough is soft and smooth.
- Form a ball out of the dough, and place it in an oiled bowl. Cover with plastic wrap and allow to rise (until doubled...about an hour) in a warm area.
- Turn doubled ball onto a floured surface and divide into 8-10 small pieces - form into round balls.
- Using a rolling pin, gently roll out each piece until they are about 1/4" thick.
- Cover the circles with plastic wrap or a clean slightly damp cloth (to keep them from drying out).
- Heat oven to 450 degrees, allowing a baking sheet or stone to preheat inside the oven on the middle rack.
- When the oven is heated up, place 2-3 dough circles on the baking sheet or stone, and bake for 4-5 minutes, or until pita has fully ballooned (please note that not every pita will balloon up all the way - that's ok!)
- Remove pita from oven and repeat with the remaining dough circles.
- These can be served right away, or stored in the freezer for a rainy day!
- Total time listed does not include rise time.


Pita looks very appetizing, and the blog is very inspiring.
I’m glad that I found it.
I’m so glad you found it as well! I think you will really love these easy and healthy pitas! <3
I definitely will test the recipe. I have not yet done pitas 🙂